
Adding a Property
🏡 Setting Up Properties in Acquaint Web
📌 Owner Required
Before adding a new Property, an Owner must be assigned - either by selecting an existing Contact or creating a new one.
➕ Creating a Property
From the Property List screen, click the Plus (+) button in the heading menu.
This opens the Property screen, which is organised into multiple tabs for complete control over the property record.

🗂️ Property Screen Tabs
The Property screen is divided into structured sections, each serving a specific purpose:
Main Details
Pictures
Floor Plans & Tours
Features
Descriptions
Rooms
Web Upload
Correspondence
Appointments
Contract
Services & Utilities
Offers
Certificates

📋 Mandatory Fields & Compliance
Some fields are mandatory and must be completed before saving or uploading the Property. This includes key marketing information required by Trading Standards under Material Information regulations (Parts A & B).
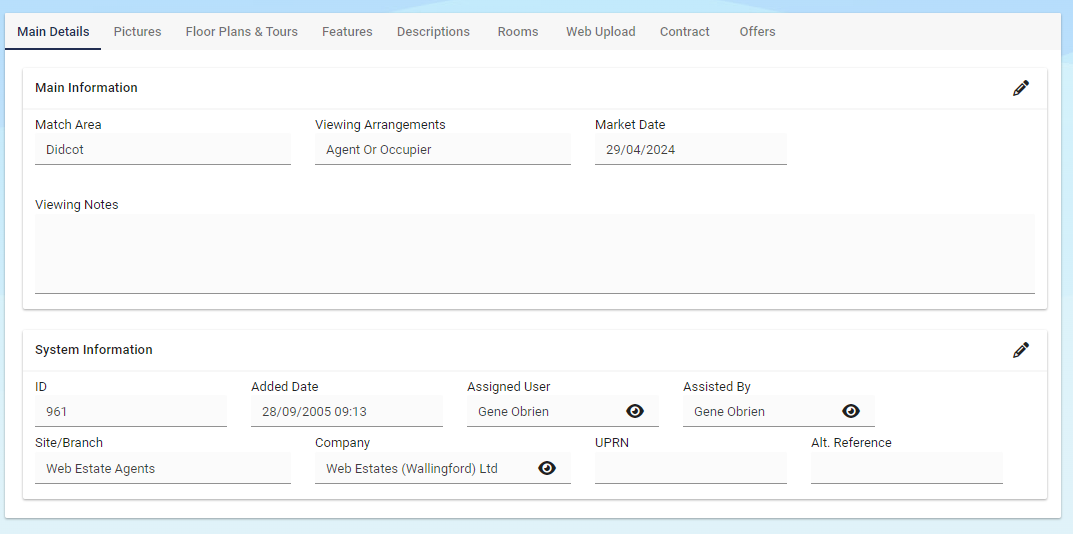
🏷️ Main Details
The first tab displayed when adding or editing a Property.
Allows you to enter address, category, and core settings.
See all the editable information in the image below:
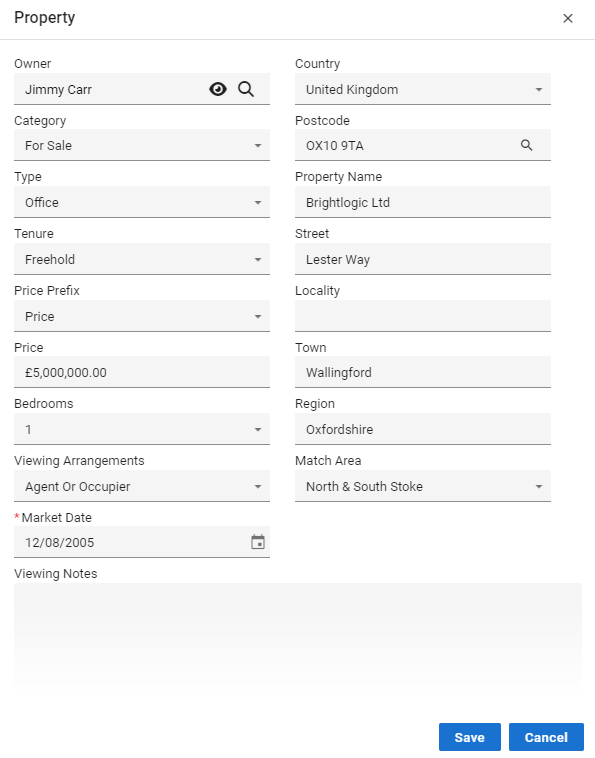
Main details will be the first tab that you are shown when creating/finding a Property.
🖼️ Pictures
Upload, remove, or rearrange property photos using the Picture Manager.
Click the pencil icon to edit
Use Add to upload images
Delete via keyboard or in-record button
If you do not currently have any Pictures uploaded it’ll appear as below.
Once all Pictures have been uploaded, you can move them into a specific order or just click “Close”.
To remove a Picture, click the Edit button again (The Pencil) then select the photo you wish to remove/delete.
Finally click either the delete button on your keyboard OR click the delete button on the Property.
📐 Floor Plans & Tours
Floorplans are an essential tool for estate agents when it comes to showcasing properties to potential buyers. A floorplan provides a visual representation of a Property's layout, giving prospective purchasers a better understanding of the space, room sizes, and flow of the Property. Floorplans help buyers to picture themselves living in the Property, understand the functionality of each room, and plan how they could arrange their furniture.
Virtual tours have revolutionized the way people buy and sell Property. In recent years, they have become increasingly popular among estate agents as they provide prospective buyers with an immersive experience that allows them to explore properties from the comfort of their own homes.
By providing a virtual walk-through of the Property, buyers can get a better sense of the space and layout, which can help them to envision themselves living in the Property.
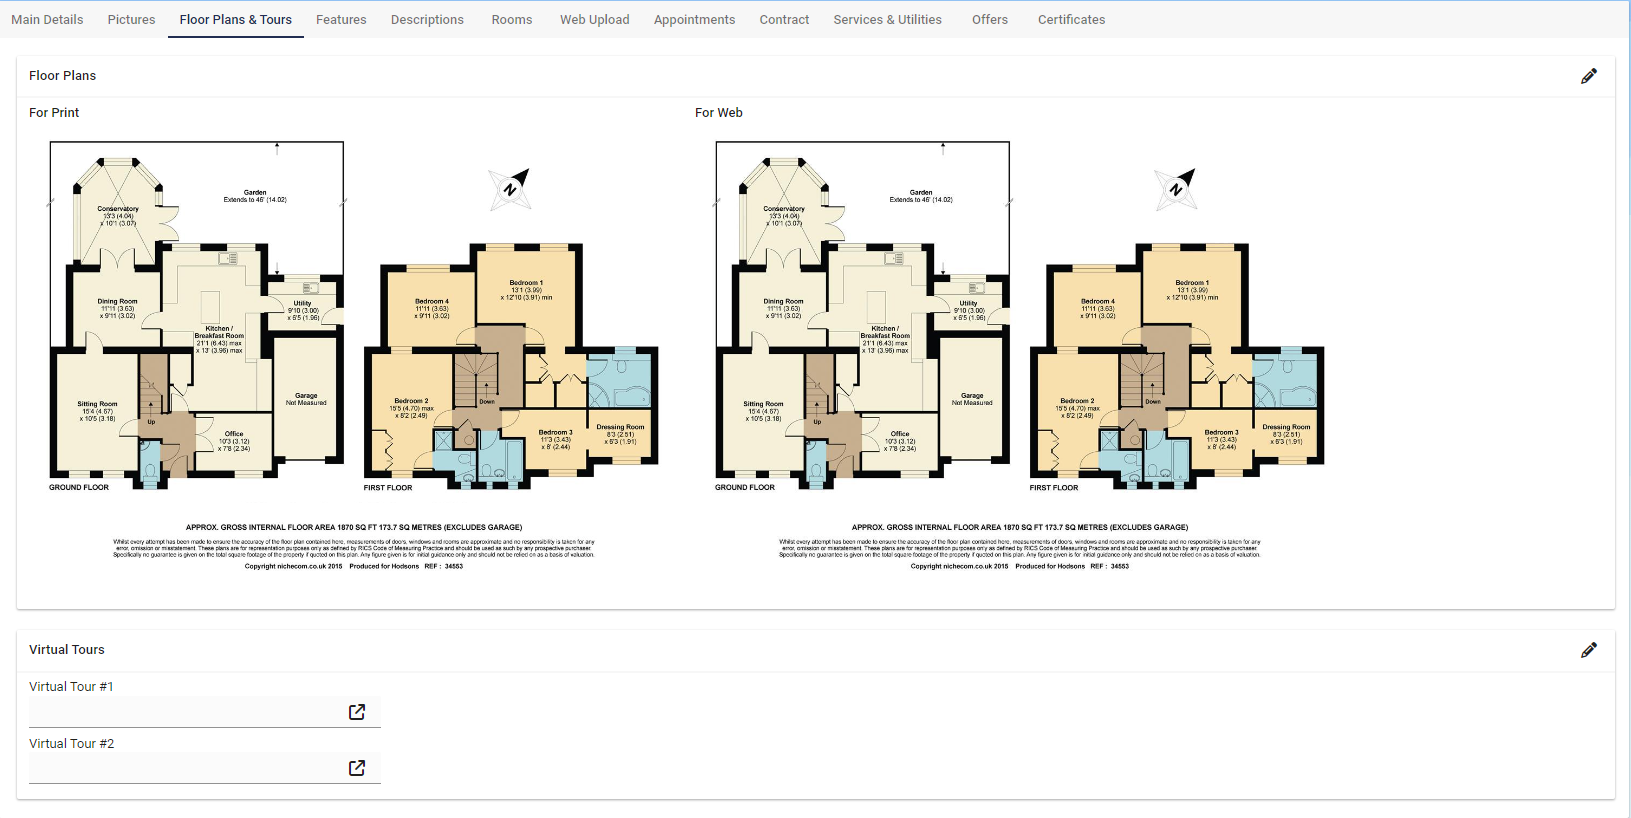
We recommend hosting your video on either Youtube or Vimeo as these are free to use and very easy to upload to.
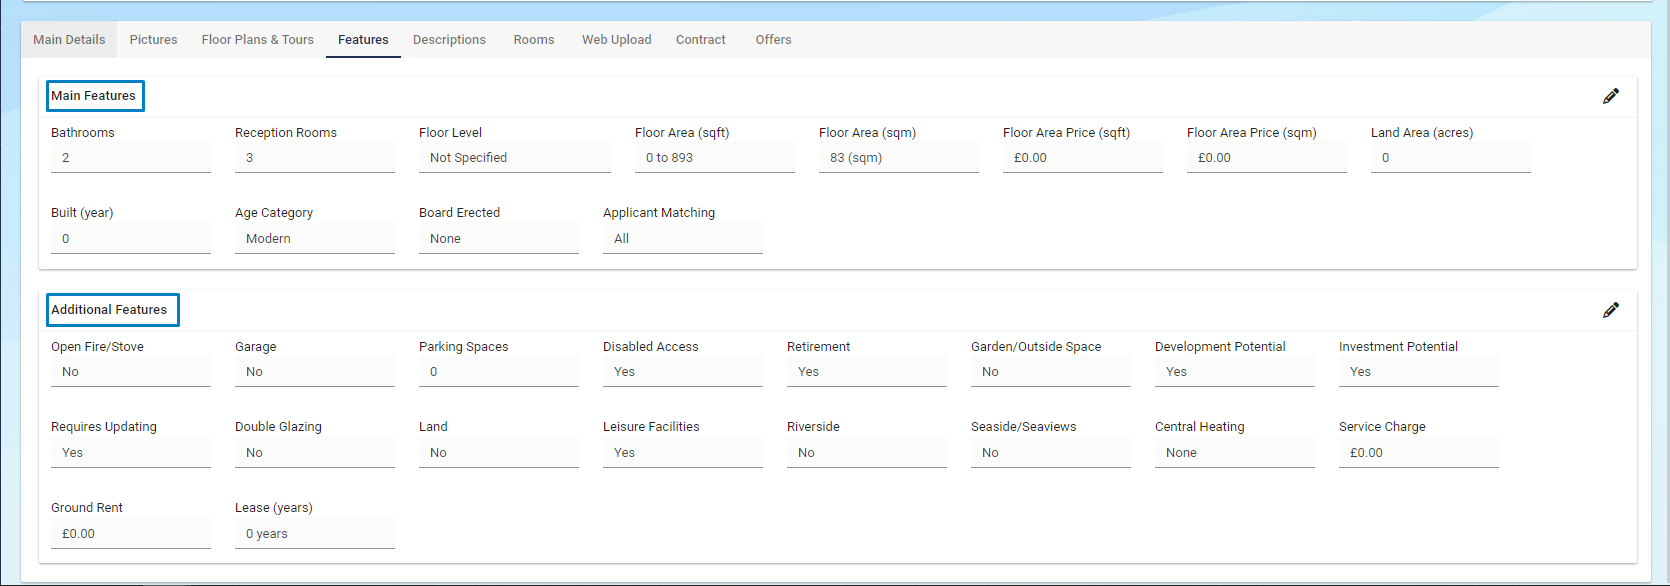
Features
On our Property record we display “Main Features” and “Additional Features”.
The "Additional features" section allows you to provide more comprehensive details about the Property, whether the Property needs updating or has double glazing as well as including its scenic location, such as stunning waterfront views overlooking the ocean or river.
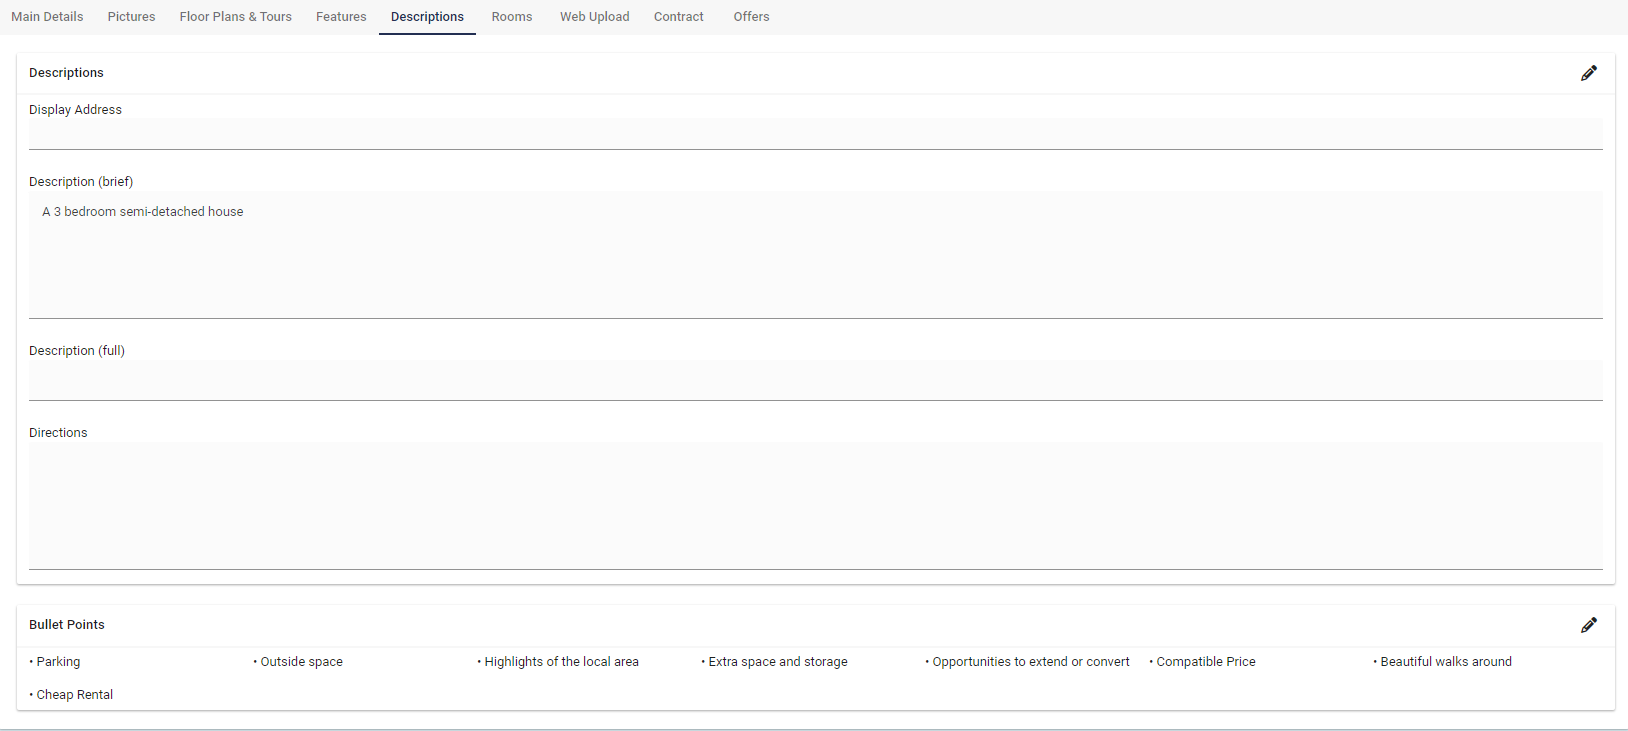
Descriptions
These fields are very important to fill in, leaving these blank will stop you from uploading to the Portals and your Website.
Display Address: This is the address that will be displayed on the Portals and Website. If you do not wish certain bits of info to display on the address - remove it from here. (E.G the house number)
Description (brief): A brief description of the Property that you are selling or letting.
Description (full): A full description of the Property that you are selling or letting.
Directions: How to get to the Property (Is it down an old country lane or opposite a graveyard etc)
Bullet Points: What sets this Property out from any other…use these bullet points to show this information.
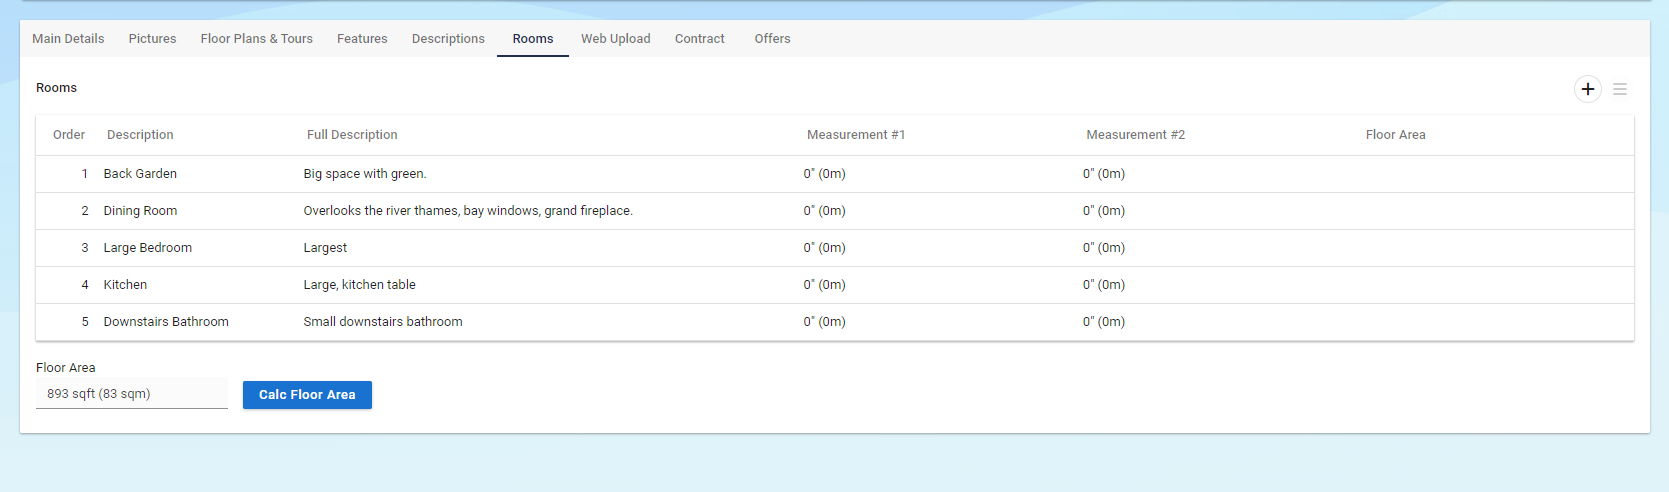
Rooms
Want to show off the Property with more than images?
By providing information about the different rooms in the Property, your customers will be able to get a comprehensive understanding of what to expect. They will have a better idea of the size of the Property, amenities provided, and the layout, such as a spacious back garden or a cosy kitchen.
To add a new Room:
Click the Plus button on the right hand corner.
Write in a Description.
Fill in as much as you can for the Full Description.
Measurements #1.
Measurements #2.
Choose the order the Rooms come in.
It is possible to save a new template or re-use a template by clicking the Plus button then “Template”.
Add, Delete, Edit and Select Templates from here.
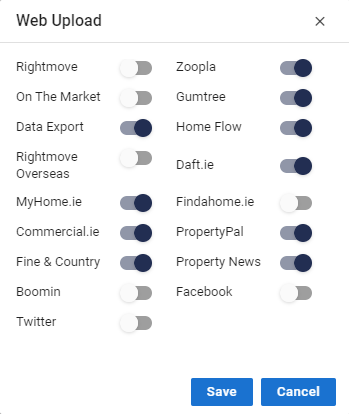
Web Upload
Want to see the Upload state in which your Property is in?
The Web Upload is here to show you what stage your Property is, whether it’s:
Based on Status
Always Upload
Never Upload
Always Upload as Available
Just to Portals
Just My Website
Did you want to change which Web Upload your Property is set to? Click on the Edit mode and change the drop down.

Portal Exclusions
We have made Portal Exclusions much easier now, all you need to do is click on the Edit (Pencil) on the right of the “Portal Exclusions” then click the slider on which Portals you DO NOT want your Property to go to, finally click Save.
Contract
Here you can enter the relevant Contract term details associated with the Property.
Agency Type
Contract Expiry Date
Selling Method - Private Treaty, Auction or Tender
Valuation Price
Let only / Intro Fees - Percentage or Fixed Fee
Commission Fees
Float to Retain
Commission Split %

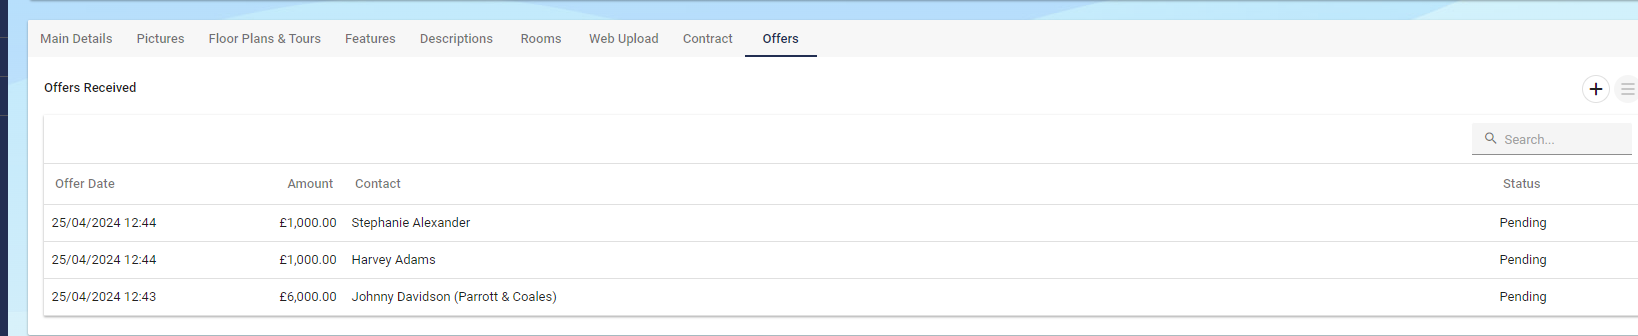
Offers
You are able to see all offers that have been received for the Property.
This will include the statuses of: Pending, Awaiting Proof, Accepted, Rejected, Withdrawn and Tenant Leaving/Left.
You also will see the Offer Date, Amount offered and the Contact who offered it.
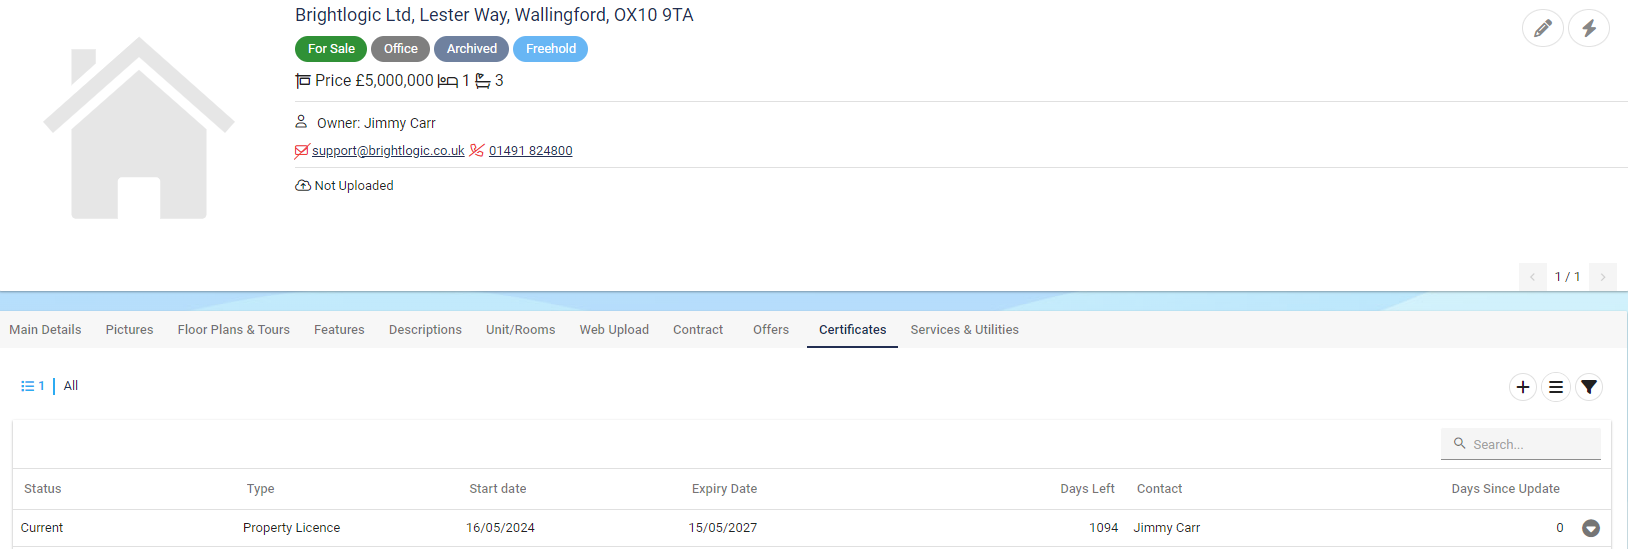
Certificates
Easily locate all Certificates related to your Property by navigating to the Certificates tab on the Property Record.
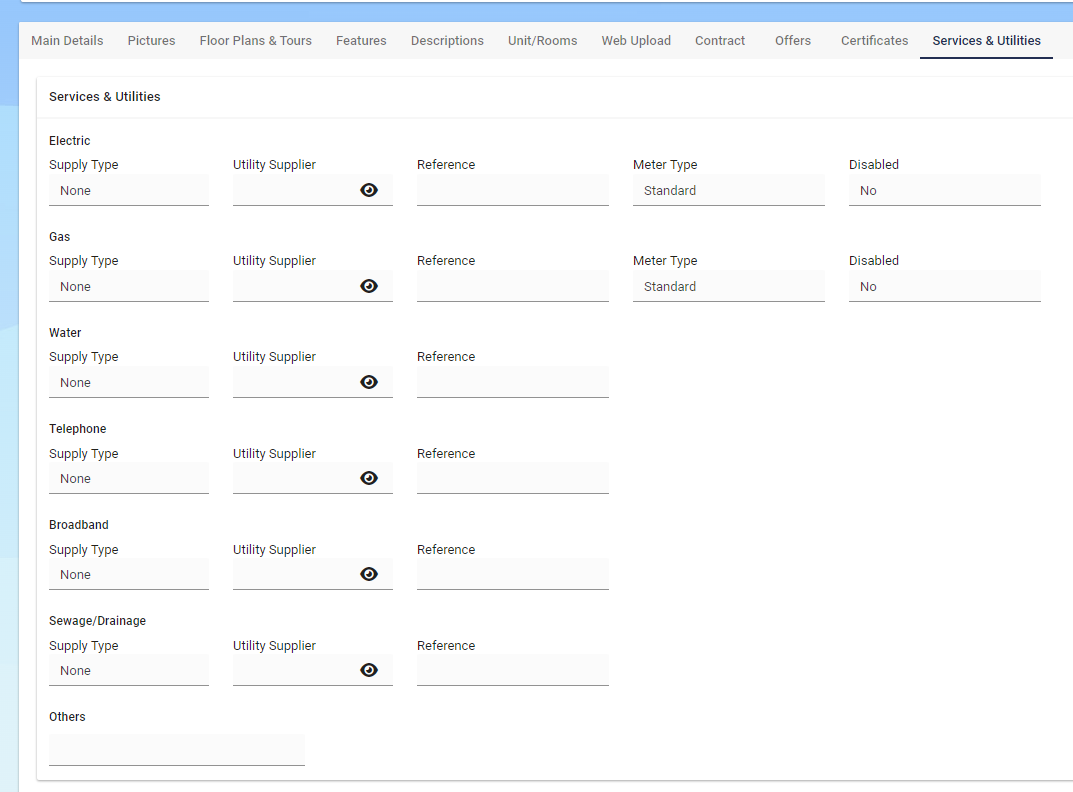
Services and Utilities
Material Information requirements under Part B
Part B came into effect on November 30th 2023, and focuses on providing details about a Property’s physical characteristics.
Services & Utilities (and how they are supplied)
Electrical supply
Water supply
Mobile signal/coverage
Sewage
Heating
Broadband
Local authority and Tax Band are every bit as important to add onto your Property as you are expected to display these whether its for your website or for the portals.
This was for Part A of Material Information.

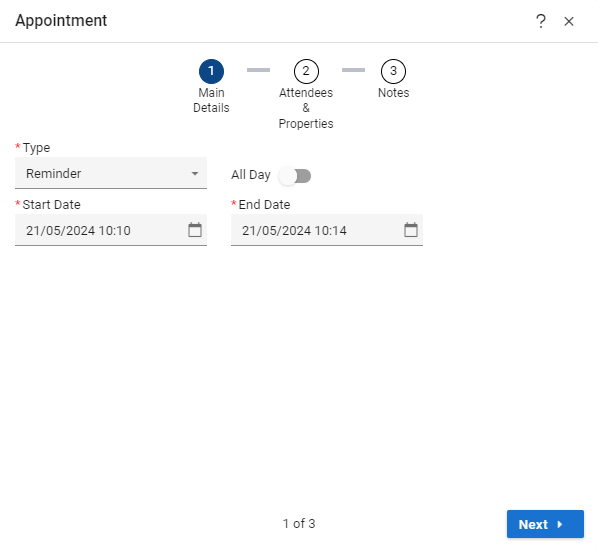
Appointments
The Appointments tab on the Property displays a chronological grid of Appointments added against a specific Contact (or User) / Property.
Option buttons available are New, Edit, Export to Excel and Refresh.
Clicking the New button will open the new Appointment screen to select the relevant date & time as well as the type of Appointment.
A count of the Appointments is shown on the left hand side of the tab in the Blue.

📆 Appointments Tab
Displays all appointments linked to the Property:
Actions | Description |
New | Create a new appointment |
Edit | Modify existing entries |
Export | Save appointment list to Excel |
Refresh | Update the view |