Adding an Appointment
🗓️ Adding Appointments to the Diary
Creating new appointments in the Diary is quick and straightforward. You can access the Diary screen from multiple areas within the system, giving you flexibility and ease of use.
Ways to Add a New Appointment:
Directly from the relevant Contact record
From the associated Property
By clicking the New Appointment button on the Diary screen
Via the side navigation bar using Create New
Within the Appointment List view
✅ Tip: Choose the entry point that fits your workflow—each route leads you to the same appointment setup screen.
🗓️ Adding Appointments Based on View Type
There are several ways to add new Appointments, and the method you use may depend on the current Diary view:
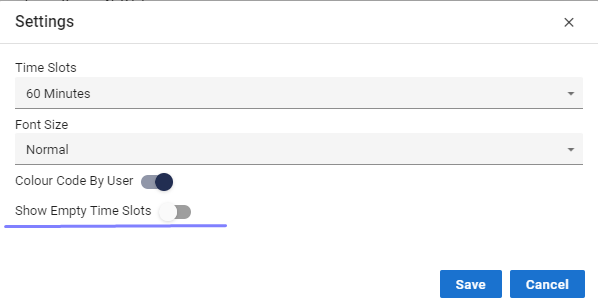
If you're using the Time Slot View (which displays empty slots), simply click on an available slot to begin scheduling an appointment directly.
Alternative views may require using the New Appointment button or accessing the entry point through the Contact, Property, or Side Navigation bar.
✅ Tip: The Time Slot View offers a quick, visual method for scheduling—ideal for finding gaps in the diary.
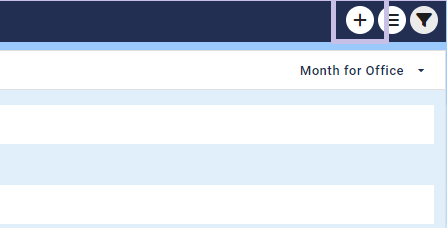
Set your view first:
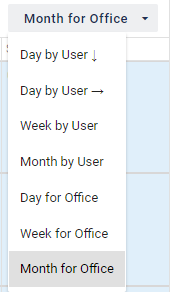
Once you have selected your view either click on the New button OR double click on the diary a position that you would like to set the Appointment to.

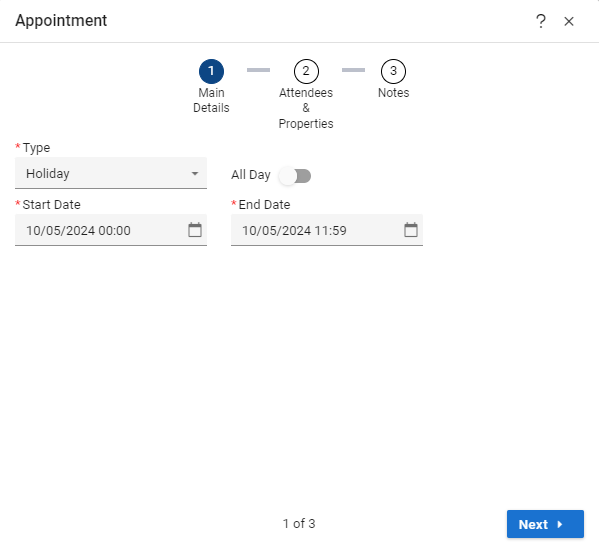
Whilst on this screen you can alter the time and date if you so wish as well as picking your Appointment type.
If you are on the view that doesn’t display the empty slots
This is what your view should roughly look like.
Now select your type of Appointment, change the date and time and type of Appointment.
🗓️ How to Create a New Appointment
Follow these steps to schedule a new appointment from a Contact record:
1. Open the Contact Record
Navigate to the relevant Contact using the search bar or list view.
Click to open the Contact’s detailed profile.
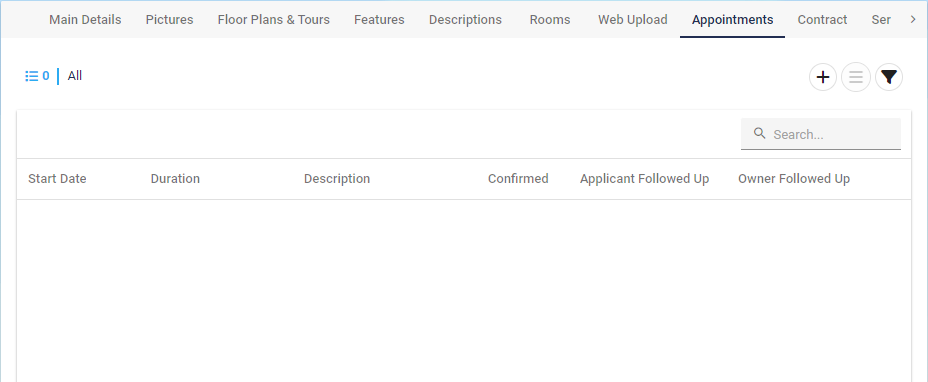
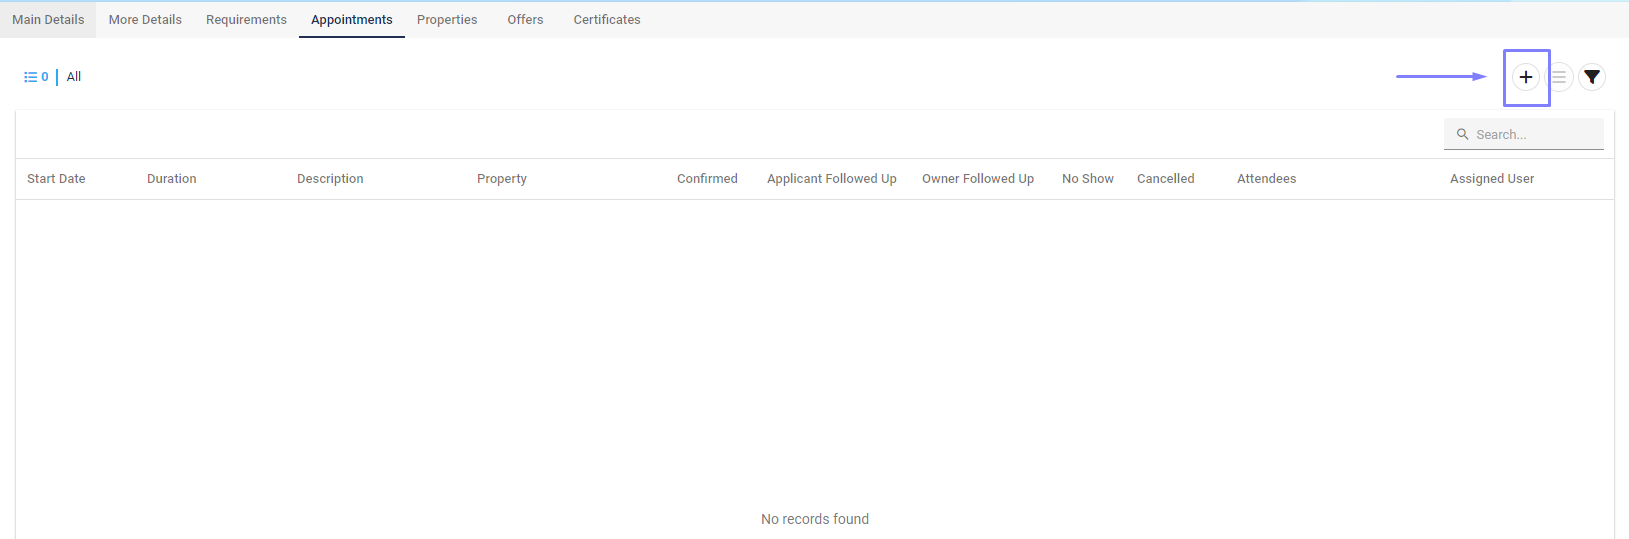
2. Go to the Appointments Tab
Within the Contact record, select the Appointments tab from the top navigation menu.
3. Click “New Appointment”
Press the New Appointment button to begin entering details for a new scheduled interaction.
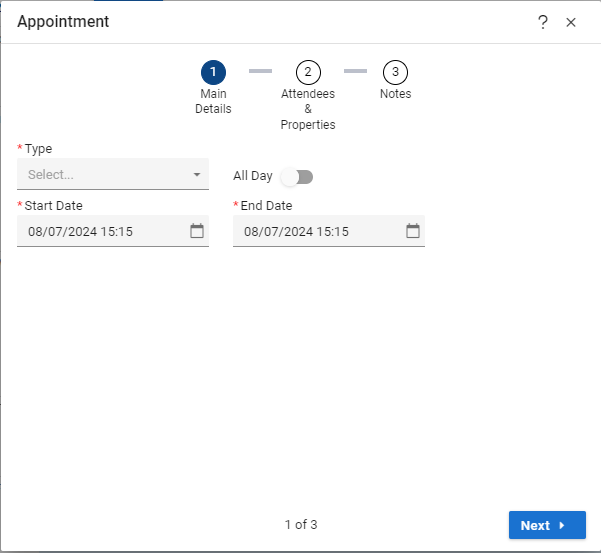
4. Enter Appointment Details
Fill out the required information in the appointment entry form:
Field | Description |
Date & Time | Choose when the appointment will take place. |
Title/Subject | Briefly describe the purpose of the appointment. |
Appointment Type | Select from predefined options (e.g., Viewing, Call, Meeting). |
Property | Add where the appointment will be held, if applicable. |
Notes | Include any additional details or instructions relevant to the appointment. |
✅ Tip: Use specific and clear titles (e.g., “Viewing – 25C Hill Street”) to make calendar entries easy to reference.
5. Save the Appointment
Once all required details are filled in, click Save to confirm and add the appointment to the Contact’s record.
The new appointment will now appear in the Appointments tab and sync with your schedule view.
⚠️ Remember: Regularly updating your appointments helps avoid missed meetings and supports better communication across the team.

Adding new Appointments from the Property record.
Steps to add an Appointment from a Property record.
https://youtu.be/kN9JI995rmg🗓️ How to Create a New Appointment
Follow these steps to schedule a new appointment from a Property record:
1. Open the Property Record
Navigate to the relevant Property using the search bar or list view.
Click to open the Property’s detailed profile.
2. Go to the Appointments Tab
Within the Contact record, select the Appointments tab from the top navigation menu.
3. Click “New Appointment”
Press the New Appointment button to begin entering details for a new scheduled interaction.
4. Enter Appointment Details
Fill out the required information in the appointment entry form:
Field | Description |
Date & Time | Choose when the appointment will take place. |
Title/Subject | Briefly describe the purpose of the appointment. |
Appointment Type | Select from predefined options (e.g., Viewing, Call, Meeting). |
Property | Add where the appointment will be held, if applicable. |
Notes | Include any additional details or instructions relevant to the appointment. |
✅ Tip: Use specific and clear titles (e.g., “Viewing – 25C Hill Street”) to make calendar entries easy to reference.
5. Save the Appointment
Once all required details are filled in, click Save to confirm and add the appointment to the Contact’s record.
The new appointment will now appear in the Appointments tab and sync with your schedule view.
⚠️ Remember: Regularly updating your appointments helps avoid missed meetings and supports better communication across the team.